Saturday, June 30, 2018

Moving towards Abstraction


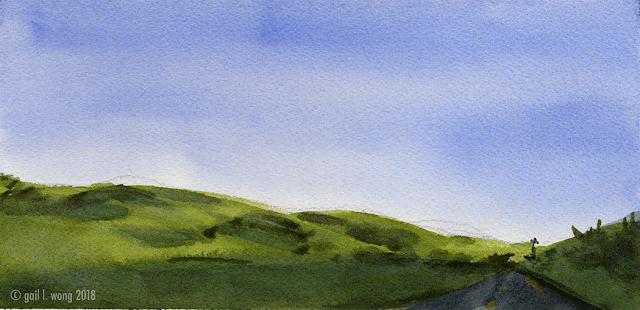
My initial inclination is to paint what I see and I tend toward literal representation.  So my first pass at this image was the painting above, trying to match the color and imagery of the scene in the photo.  I wasn't able to push the hills back with the color.  They kept popping forward.  So I laid down a  light glaze over the hills to mute it.  While doing that I lost the lightness of the hills.

The second time I painted the scene, I tried to simplify the forms and abstract the shapes, but kept close with color.


This third pass, I held on to basic abstract, shape and value but gave up on literal color.


Wednesday, May 30, 2018

More Wet into Wet Technique in Watercolor

This week was more practicing Wet into Wet into Wet technique both in homework and in class.
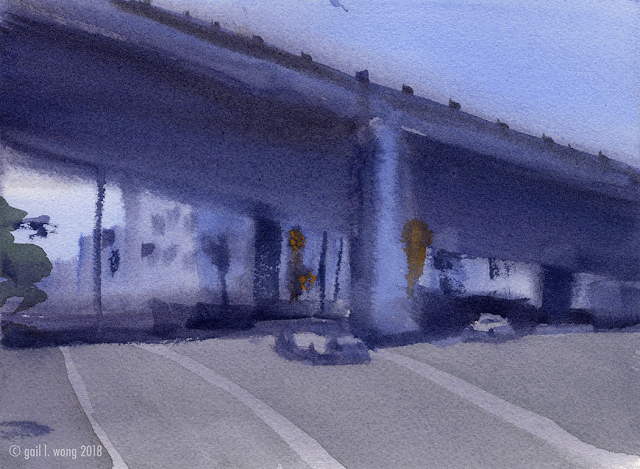
The night scene below was a painting done in Tom Hoffman's Tuesday's class.  The painting started with the light colors applied on a very wet sheet of watercolor paper. I mean really wet.  Holding it under the faucet and wetting both sides of the sheet wet. At this point you get soft edges where colors merge and mix into each other when you apply the paint.

Midtone values and colors were applied over the light colors while everything was still wet.  You can tell the paper starts to get a little drier.  The paint in the brush is still drier  than the wet paper. You are using the wetness of the paper as your water source.  Doing that you will avoid blooms.

Finally the darks were put on as the last layer.  It was a challenge getting the right consistency and viscosity of paint.  You have to get enough pigment in your mix to cover and get it dark enough that it won't dry light.  You also need enough fluidity in the paint that you don't lift off the lower layer of paint while painting on the final layer.  Areas in this painting where you see the brush strokes are areas where I was pulling off paint while I was applying paint.


Sunday, May 27, 2018

Watercolor Homework Practicing Wet on Wet Technique

The following watercolors were done from photos on Tom Hoffman's Watercolor Homework blog.
For each of the paintings I started with the sky by wetting the area of the sky with clear water then painting cobalt blue on the wetted page.  Then that was left to dry.  The bottom half was done one of  two ways.  For one painting I just applied a wet base color.  It was the lightest color I was going to use in that area.  The other paintings I actually started the same way I did the sky, with clear water then painting over with my yellows and greens.  The key to avoid blooms is to not re-dip into water.  Be sure that the brush and pigment is drier than the page you are painting on.  Using this technique the water on the paper is the water supply that you use. 


Tuesday, May 22, 2018

Dealing with Greens in Landscape Watercolor Painting

Today in Tuesday's watercolor class we tried an exercise to create a variety of greens using a limited palette.  The base colors we used were Nickel Azo Yellow, Ultramarine Blue and Burnt Umber. 
Using varying amounts of blue, yellow and Burnt Umber you can see the wide range of greens you can create that harmoniously work together.


Sky Studies Watercolor Homework


Watercolor homework paintings for  Tom Hoffman's Tuesday class.
The point of the exercise is to see how forgiving painting the sky can be looking for simple shapes and values.  The first painting was done on a very wet paper.  The second had an initial clear wash but it ended up drying on me so you can see hard edges to the clouds. 


Wednesday, April 25, 2018

First Painting of the En Plein Aire Season

Yesterday was a beautiful day in Seattle.   So this was our first chance at painting outdoors for this season.  It was 74 degrees which is very temperate for this time of year.   In Tom's class we were looking for a simple scene and trying to capture the quality of light and long shadows.  I learned something extra.  How to paint in cars using negative painting as well as  finding the shadows and shade side of the car.


Wednesday, April 18, 2018

Study on Soft Edges in Watercolor

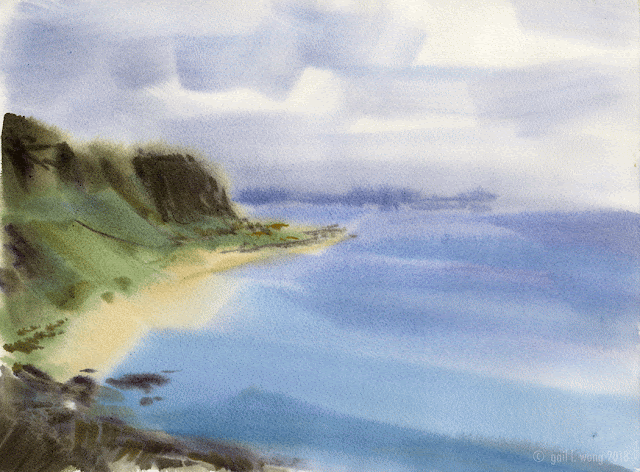
I am taking a watercolor class this spring with Tom Hoffman.  Yesterday we studied how far you can go with soft edges in paintings.  Here is a watercolor done from a photograph of Hawaii.  

The intention of this study was to do a painting all in soft edges to find out what places may need hard edges or if any hard edges are needed at all!  I worked in clear water on both sides of the paper before I started to apply paint strokes with a broad brush.